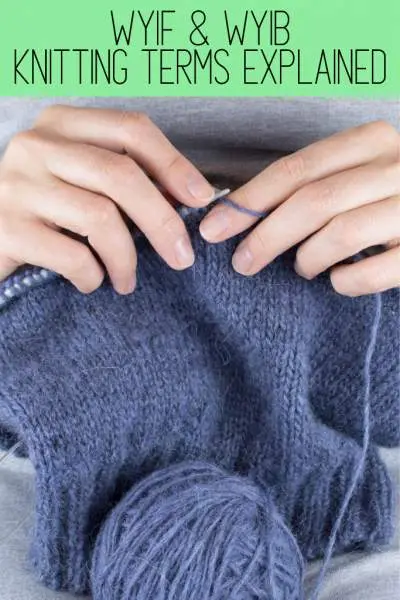
You’ll be reading what feels like a never-ending amount of knitting abbreviations as you work your way through various patterns. You will definitely be confused at first, but everything will be easier to understand as you gain more experience in your craft. Here we will take about two common abbreviations: WYIF and WYIB.
What Does WYIF Mean in Knitting?
In knitting, WYIF means: with yarn in front. It’s a very basic term that is pretty easy to understand. WYIF describes where your working yarn is in relation to the item you are working on. Your working yarn should be in front of your knitting work.
You will often see WYIF used in conjunction with other abbreviations such as sl1 WYIF or sl1pwyif. These both mean the same thing
Sl1 WYIF means: slip one purlwise with yarn in front. You can also find it written as sl1pwyif.
You may also find it written as “slip wyif”, which just means you need to make sure your yarn is in front of your work and slip the next stitch.
How Do You WYIF?
The way that you WYIF will depend on whether you are knitting or purling.
To slip one stitch with yarn in front while knitting:
- Take your working yarn and move it to the front
- Slip the next stitch purlwise from the left needle to the right needle
- Move your working yarn to the back
- Continue knitting
To slip one stitch with yarn in front while purling:
- Leave your working yarn in front (it should already be in the correct position
- Slip one stitch purlwise from the left to right needle
What Does WYIB Mean in Knitting?
The knitting abbreviation WYIB means “with yarn in back”. It is the opposite of WYIF. This again just refers to the position of your working yarn in relation to your knitting work.
How Do You WYIB?
To slip one stitch with yarn in back while knitting:
- Your yarn should already be in back while knitting
- Slip the next stitch purlwise from the left needle to the right needle
- Don’t move the working yarn
To slip one stitch with yarn in back while purling:
- To start your yarn should be in front
- Move the yarn to the back
- Slip the next stitch purlwise from the left needle to the right needle
- Move the yarn back in front again
- Continue purling
Closing Thoughts
These abbreviations are pretty simple and easy to understand. After you practice them a few times you should have no problems following along as you read them in your patterns. Watch the video below for a quick visual tutorial of all of the concepts we have covered here.
STS in Knitting
